
The theme of this year's tour is glamping, which is glamorous camping. I have to say, I've never been glamping... but I have been camping quite a few times. My favorite place to visit is Lake Trillium in Oregon. The scenery is stunning and the water is great for canoeing. It is named after the trillium flower. Some varieties of trillium are protected by law. They are very special and live especially long lives.

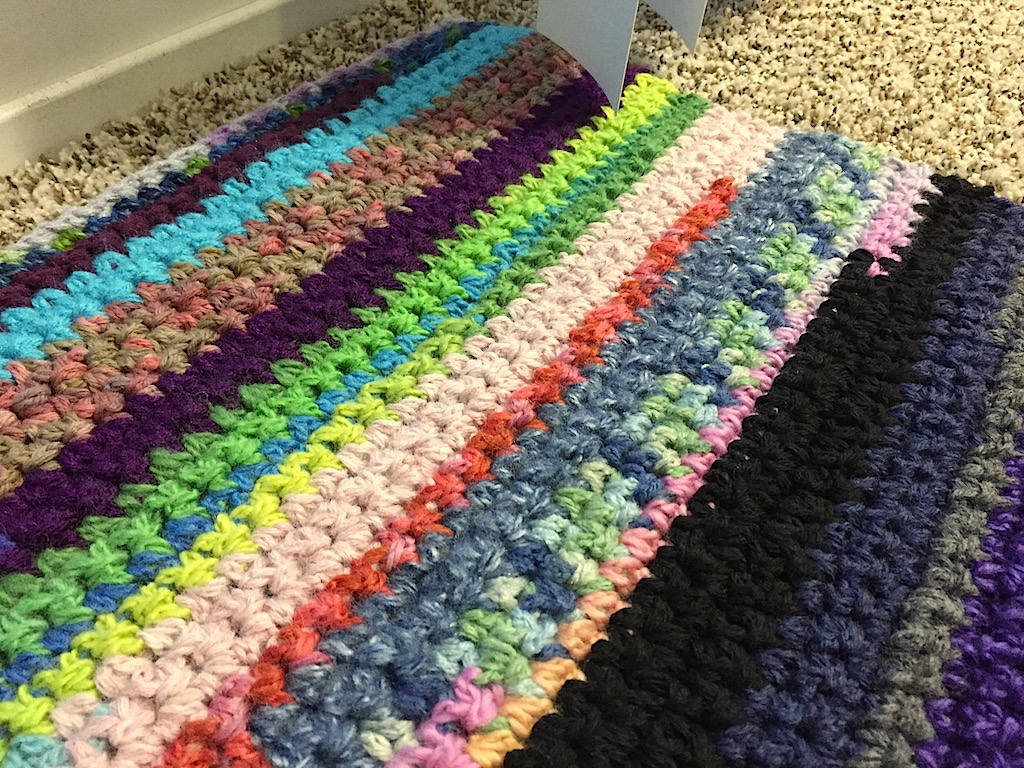
When I go camping, I really dislike having dirt or sand tracked into my tent. I always have a small rug in front so that I can leave my shoes outside. When thinking about a blog tour project, I wanted to design a rug for this purpose. However, who would want to leave their lovely finished crochet project outside on the ground and put their shoes all over it? Finally, it hit me; the rug has to be ugly for you to want to walk all over it. Nay, not even just ugly -- fugly. I bring you the Fugly Scrap Rug!

This rug is a 2 for 1 deal. It will just eat up all of your worsted scraps while also providing you with a sturdy rug that you don't feel bad about stepping on. It was so effective at getting rid of my scraps, I was worried I would run out! Are you ready to learn how to make your very own fugly rug?

The process is very simple. The only things you have to know are how to chain, single crochet, and weave in ends. You're going to be making your own thick yarn by chaining with regular yarn and then using a big hook to crochet with the chain. I recommend using a 5.5mm or 6mm hook for the chaining and a 9mm or 10mm hook for the crocheting.

Start by making a chain with one of your scrap balls and the smaller hook. Keep on chaining until you have used up all but the last six inches or so of the yarn.

Next, attach your chain-yarn to the bigger hook with a slip knot. Begin chaining with the chain just as you would if it was regular yarn.

Chain with the big hook until you reach the desired width of your rug.

Now, just as with traditional single crochet, it's time to work into the starting chain. Turn, skipping one chain stitch. Work single crochet stitches into the chain. I worked into the back loops of the chain to make it easy on myself. Don't let your tension be too tight, which is the main challenge while working with such thick chain-yarn. Continue single crocheting, turning and chaining one at the end of rows.

When you run out of chain-yarn, it is time to attach your next scrap. Just go ahead and pull the new strand through the final loop and start chaining with it as shown in the photo above. You can tug on each end a bit to make it more secure. You will weave those ends in later when the rug is finished.

That's all there is to it! Keep adding chain-yarn and then single crocheting with it until your rug is the desired length. I made my rug with all worsted scraps, but you could use all bulky or all DK if you wanted. It might be cool to make place mats using this method as well. Don't worry about the materials that the yarn is made of. If some of it felts in the wash, it will just add to the delightful fugliness!